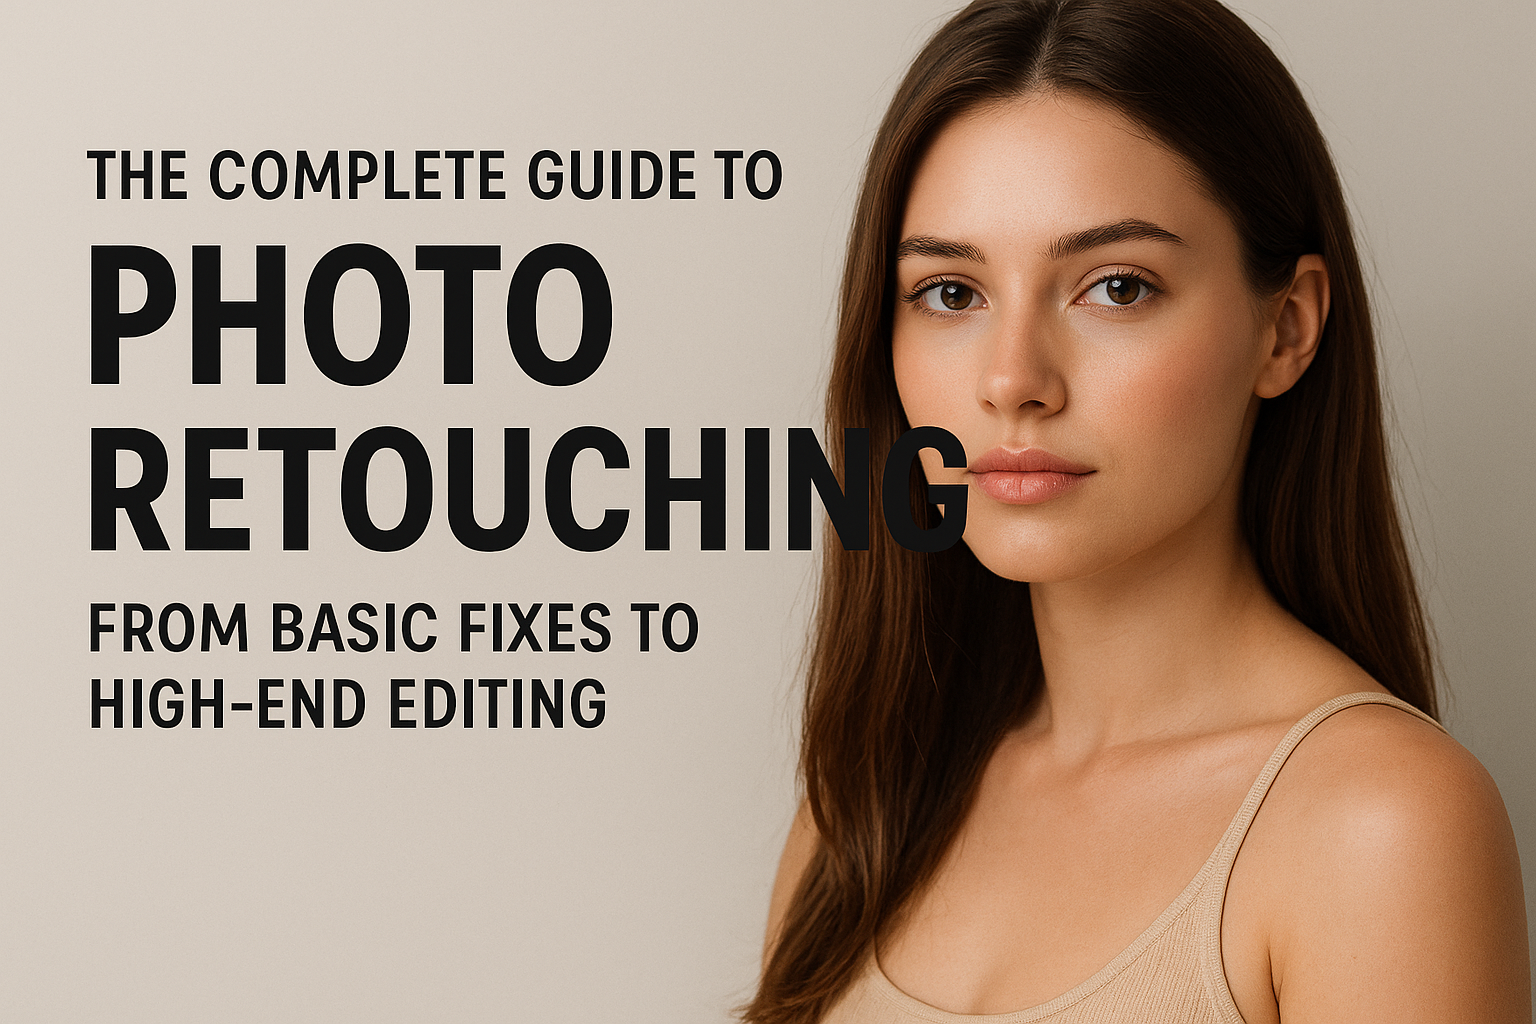
Photo retouching is an essential part of digital photography and visual storytelling. Whether you’re a beginner learning to fix blemishes or a professional editor crafting flawless magazine-quality images, understanding the art and science of retouching can transform your work.
In this guide, we’ll walk you through everything from basic corrections to high-end professional techniques—so you can enhance your photos like a pro.
📸 What Is Photo Retouching?
Photo retouching is the process of modifying or improving an image after it has been captured. This goes beyond simple color correction—retouching can remove imperfections, adjust lighting, enhance skin texture, or even composite multiple elements to create an entirely new look.
Common goals of photo retouching include:
- Smoothing skin and removing blemishes
- Adjusting exposure, brightness, and contrast
- Whitening teeth and enhancing eyes
- Fixing background distractions
- Refining product or portrait details
🧰 Step 1: The Basics – Essential Fixes for Beginners
If you’re just starting out, begin with these fundamental editing steps:
- Cropping and Straightening – Correct composition and remove distractions from the frame.
- Color and Exposure Correction – Use levels and curves to balance tones and highlights.
- Spot Healing and Clone Tools – Remove blemishes, dust, or unwanted objects.
- Sharpening – Enhance edges to make the image crisper, but don’t overdo it.
🪄 Pro Tip: Always work on a duplicate layer in Photoshop or Lightroom so you can revert changes easily.
💎 Step 2: Intermediate Retouching – Enhancing Realism
Once you’re comfortable with the basics, move on to more advanced adjustments:
- Skin Smoothing: Use techniques like Frequency Separation to retain texture while removing uneven tones.
- Dodge and Burn: Brighten highlights and deepen shadows to add natural dimension.
- Color Grading: Apply subtle color harmonies or creative tints to set a mood.
- Liquify Tool: Adjust facial features or clothing gently—avoid making people look unrealistic.
🎨 Pro Tip: Focus on subtlety. The best retouching is invisible retouching.
✨ Step 3: High-End Retouching – Professional Techniques
High-end retouching is used in fashion, beauty, and advertising industries, where perfection and realism must coexist. This level of editing often includes:
- Advanced Frequency Separation for precise tone and texture control
- Non-destructive Dodge & Burn using 50% gray layers
- Color correction using LAB mode for better color control
- Background cleanup or compositing for flawless presentation
These techniques require patience, precision, and a strong understanding of light and anatomy.
🧑💻 Popular Software for Photo Retouching
Here are the most widely used tools for professional retouching:
- Adobe Photoshop – Industry standard for advanced editing
- Adobe Lightroom – Ideal for global adjustments and batch editing
- Capture One Pro – Loved by fashion photographers for color accuracy
- Affinity Photo – Budget-friendly alternative with professional power
- GIMP – Free and open-source option for beginners
🕒 Workflow Tips for Efficient Retouching
- Always shoot in RAW for maximum editing flexibility.
- Keep edits non-destructive (use layers and masks).
- Work zoomed out often to maintain perspective.
- Save before and after comparisons to evaluate progress.
- Develop a consistent editing style for branding or client work.
🌟 Final Thoughts
Photo retouching is both a technical skill and an art form. As you practice, you’ll develop your own style and workflow—whether you prefer natural, editorial, or artistic looks. The key is to enhance the photo while preserving its authenticity.
Start simple, learn the tools, and gradually move toward high-end editing techniques. Remember: a great retouch enhances reality—it doesn’t replace it.